Napari is a program that can open images, 2D, 3D, 3D+time, 3D+channels+time, or as many dimensions as you like. It is written in Python, so it allows you to easily access the world of deep learning. The program looks very promising, and I can see it becoming a serious competitor of the ubiquitious program ImageJ.
That said, let’s have a look.
Installing everything
First, make sure that you have installed Anaconda (see a tutorial here) and that you have some images ready, ideally TIFF or PNG files. If you don’t have them, just download some random image from the web.
conda create --name naparitest python=3.9 This will create an environment named “naparitest” (feel free to choose a different name) without any packages but with a Python version that will be compatible with napari. We will install napari later. Once the environment is created, run the following command to activate the environment:
conda activate naparitestNow that we’re in the naparitest environment, we can install napari. We will do this through pip instead of Anaconda. Run the following command:
pip install "napari[all]"This installs a functional version of napari. (If you leave out [all], then you will be getting a version of napari that’s not yet complete, and it won’t start.)
The command will find out what it needs to install (the napari package relies on a lot of other packages to function), and it will prompt you for confirmation. You can just confirm.
After you’ve installed everything, run the following two commands in the Anaconda Prompt:
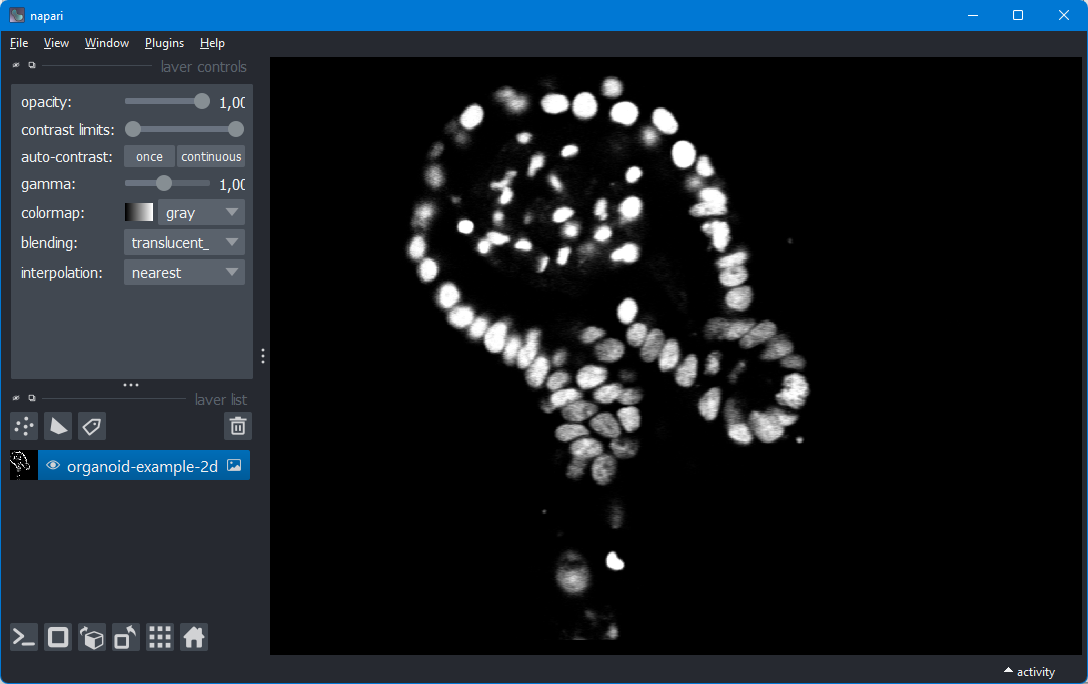
napariNapari should now open. You can drag a PNG or small TIFF image into it.
Not that you have installed napari, in the future you can start napari by opening an Anaconda Prompt and just running conda activate naparitest and then napari. (Still quite involved though compared to ImageJ.)
I always recommend to use Anaconda to install all packages. The reason being that there can be bugs if you use both PIP and Anaconda in the same environment. However, in this case we will use PIP for all packages. This is because napari plugins are installed through PIP, so we are kind of forced to use PIP for everything.
If you would install napari through conda install napari, then you’ll likely run into issues. In the beginning of 2023, I installed napari through Anaconda, and then installed the plugin napari-aicsimagio (a plugin that is recommended in their quick start guide). This failed spectaculairly. Afterwards, napari didn’t even start anymore. What happened was that PIP tried to downgrade the package tifffile, which didn’t work, as tifffile was previously installed through Anaconda (as part of the napari installation).
Loading images in napari
For an image viewer, loading images is actually surprisingly difficult. While a single TIFF, PNG or JPEG will work, anything beyond that becomes more complicated.
For less standard image files like ND2 or LIF files, I recommend to install the plugin aicsimageio, which you can do by running the command pip install aicsimageio in the activated Conda environment of napari. (You can also install the plugin from within napari, if you prefer that.)
If your microscopy data is spread over multiple image files, like a folder of TIFF files, then you’ll need to cobble together your own image loader. This requires quite a bit of programming skills. A tutorial is available at napari.org.
Manually segmenting images
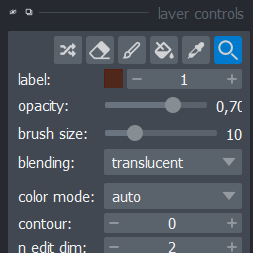
One cool feature of napari is that it easily allows you to manually segment an image, or correct some existing segmentation.
Loading single-cell tracking data
As this website is about tracking organoids, you’re likely intested in how you can load tracking data. Fortunately, a good tutorial for that already exists in the official napari documentation. It will require quite a bit of programming experience, however.