
Package management in Python
Python is one of the most-widely used programming languages in the world, but package management is one of its weaker points. While languages like Java allow you to neatly distribute your code in a single file for other to use, in Python it’s more cumbersome.
Packages can conflict with each other, for example when package A needs version 1.3 of package X, while package B needs version 3.1 of package X. In that case, you cannot install both package A and B within the same Python environment. This is not a theoretical concern, but an issue you’ll often run into. To reduce this problem, several tools have been created to allow you to install multiple Python environments on your PC, and switch between them with a single command.
Introducing Anaconda
The tool we’re going to use is the popular Anaconda tool. It allows you to not only install simple Python packages from PIP, but unlike other tools it also allows you to complicated non-Python programs, for example CUDA. CUDA allows you to run Python compurations on your graphics card, which is useful in machine learning scripts.
Anaconda offers a standard base environment, with a ton of packages already installed, and allows you create environments on your own. For example, this command creates an environment with Python 3.11 and the package numpy:
conda create --name choose_a_name python==3.11 numpy
You would enter such a command in the Anaconda Prompt. Right now, you probably don’t have the Anaconda Prompt installed on your PC.
Installing Anaconda
I prefer working with an empty base environment, and then creating a separate environment for every project I’m working on. In this way, two different projects can never interfere with each other because of conflicting packages. As noted before, normally the base environment of Anaconda comes with a ton of packages. Fortunately, the company behind Anaconda also offers Miniconda, with is identical to Anaconda, except that it has an empty base environment.
You can download Miniconda from here. Please download and install it. You can leave all settings at their default options.
Introduction to the Anaconda Prompt
Now that you’ve installed Miniconda, your computer will have a graphical program called Anaconda Navigator. You also get an Anaconda Prompt. Both can be found in your start menu/launcher. Anaconda Navigator is a graphical shell around Anaconda Prompt. It is a bit limiting in functionality, so I prefer working with Anaconda Prompt. This is a command-line tool, which means that once you start it, you are greeted with a screen like this:
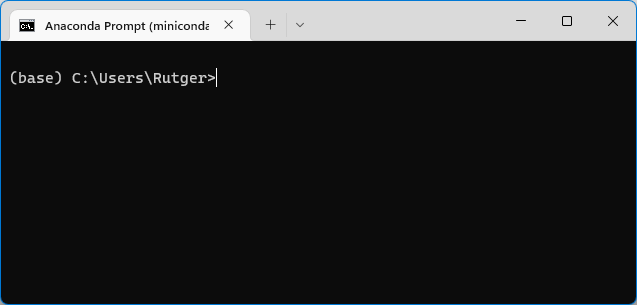
This is the command line. If you’re not familiar with this, you soon will be, because Python tools use the command line very often. It allows you to type a command, like “conda install numpy”, and it will then display the output of that command. Windows users: you can find a nice video-tutorial on the command line here, by the popular YouTuber thenewboston. Mac users: use this video instead. Linux users: for sure you are already familiar. 🙂
Note 1: from this point onwards we will assume that you will be familiar with at least the command cd to change the directory, and the command dir (for Windows) and ls (for macOs/Linux). If not, then please look them up.
Note 2: if you start the default command prompt of Windows, then you cannot run any Anaconda commands. You will get an error about an unknown command. You really need to use the Anaconda Prompt.
Basic environment management
So you are going to create a separate Anaconda environment for each Python project, so that packages of those projects won’t conflict. How do you manage these environments from the Anaconda Prompt?
This guide gives a comprehensive overview. But for the basics:
Creating a new environment with Python 3.10 and the numpy and matplotlib packages:
conda create --name name_here python=3.9 numpy matplotlibNote that the of the environment name cannot contain spaces, so use an underscore (the _ ) instead.
Activating that environment:
conda activate name_hereFrom that point on, if you run a Python script using python script_name.py, the packages of that environment will be available.
Deactivating the environment:
conda deactivate name_hereIf you run Python after this, then the packages from the environment won’t be available anymore.
Ok, that’s it for now! There’s a lot more to learn, like how you can export your environment, and how you can import someone else’s environment, but for that you can consult the comprehensive guide.